Overview
You can use this endpoint to create a single new Warehouse Inventory Transfer (WITR). To consume it, you must:
- Be an authenticated user.
For information on how you can authenticate, see Authentication.
To see how to add items to a WITR, click here.
Endpoint
An example of such an endpoint for XX server is:
https://xx.api.sellercloud.com/rest/api/WarehouseInventoryTransfers
For your server, the endpoint will be:
https://{your_server_id}.api.sellercloud.com/rest/api/WarehouseInventoryTransfers
Request
- Method Type: HttpPost
- Authorization: Use Bearer Token + token received from token authentication
- Header info: Content-Type: application/json
Request Parameters
| Parameter | Data Type | Description | Is Required |
| Title | string | The Name/Title for the new WITR. | yes |
| CompanyID | integer | The ID of the Company under which you are creating the WITR. | yes |
| FromWarehouseID | integer | The numerical ID of the warehouse you are transferring products from. | yes |
| InterimWarehouseID | integer | The numerical ID of the interim warehouse. | yes |
| ToWarehouseID | integer | The numerical ID of the warehouse you are transferring products to. | yes |
| Notes | string | Optional WITR Notes. | no |
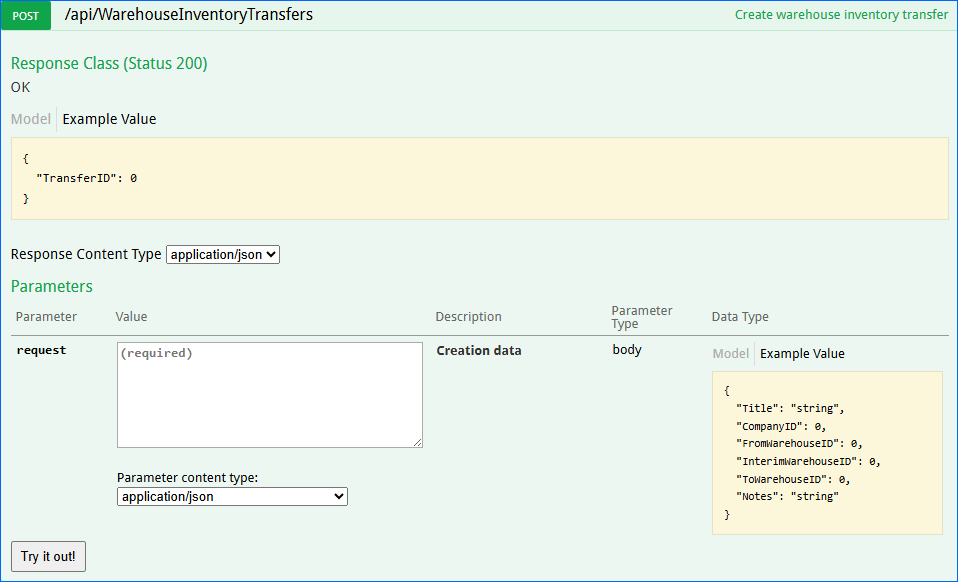
Request Body
{
  "Title": "string",
  "CompanyID": 0,
  "FromWarehouseID": 0,
  "InterimWarehouseID": 0,
  "ToWarehouseID": 0,
  "Notes": "string"
}
Response
- If the user is authenticated, then the response will be Status Code 200 => OK with the ID of the new WITR.
- If the user is not authenticated, then the response will be Status Code 401 => Not Valid Token.
- On server response => Status Code 500 => Internal Server Error.